When using a XenApp Server you will often want to display a custom start menu to your users rather than the default start menu with very application installed. Here is how you can do this.
Default Start Menu
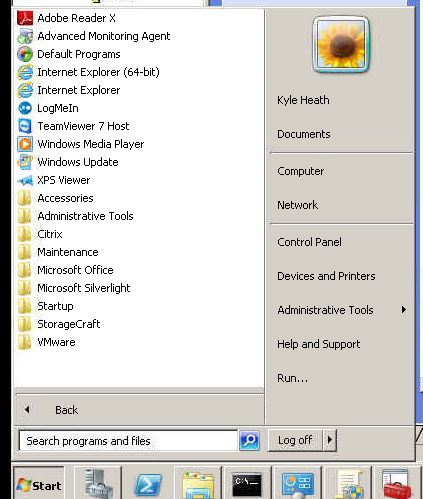
Here is the default start menu, this contains several applications I do not want my users to access such as Shadow Protect Backup and VmWare Tools.
Group Policy
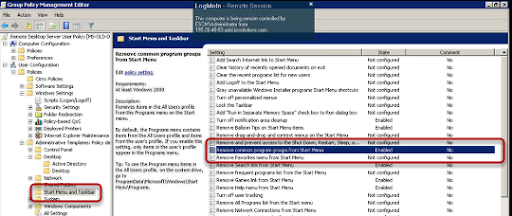
The first step is to create a Group Policy for the Xen App Server for your users, I will not cover how to do this but you can find plenty of information on this topic on Google. We will use this setting to hide the Start Menu Common Program Groups from the Start Menu. This will hide the Program Groups from the Start Menu and leave only the Accessories and Windows Explorer items.
Group Policy Preferences
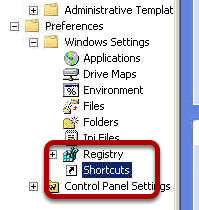
The next step is to use the Group Policy Preferences to configure custom shortcuts for each application you want to display. Right click on the Shortcuts option and choose New.
New Shortcut
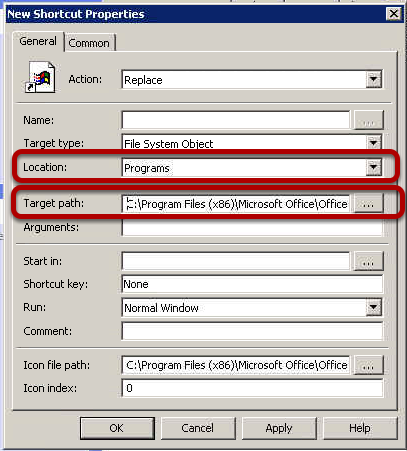
Now you can create a new shortcut, in the Location field choose Programs and then from Target Path enter the full path to the application EXE. In this case I have used Winword.exe for Microsoft Word.
Icon
We need to display the right icon for the application, in the Icon File Path section choose the browse button and then Browse.
Find Application
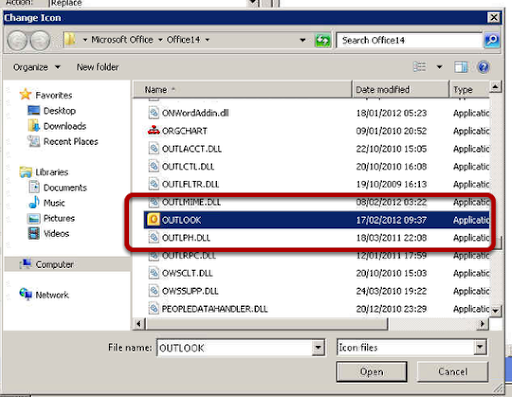
You can now browse to the application in question and choose the EXE so you can assign the icon. I find that this process is best completed on a test Xen App Server with all the applications you want installed but also has the Group Policy Management MMC. If you use a computer without the applications installed you cannot add the right icon for the applications.
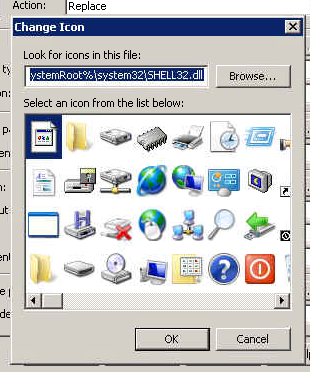
Icon
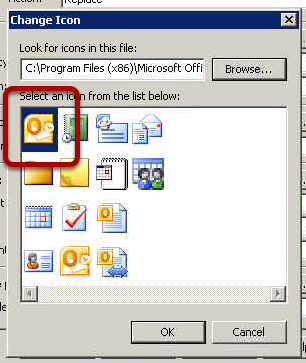
You can now select the correct icon for the application.
Shortcut Name
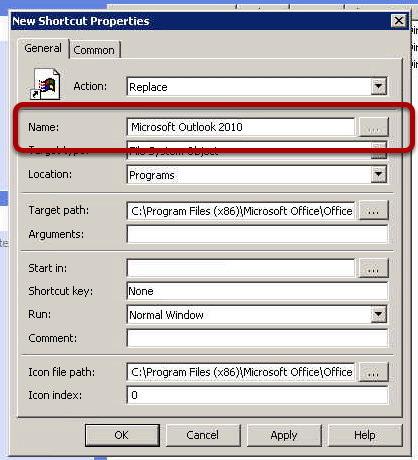
You can now name your Shortcut as you want it to appear to the users.
Deliver Shortcuts to Specific Users
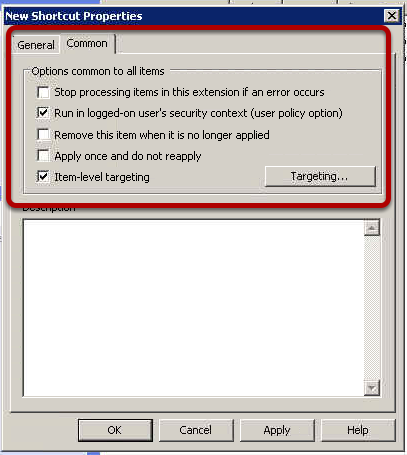
The clever part comes now, you can choose to deliver this shortcut to one or a group of users. So you can have one group have one application and another not have the shortcut. Select the Item Level Targetting box and choose the Targetting button.
Targetting
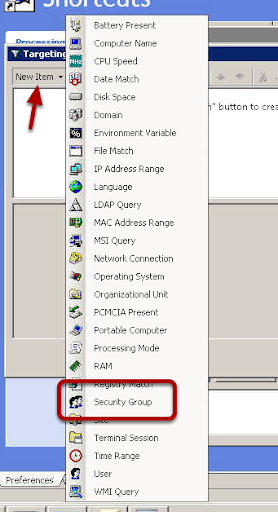
From the menu choose New Item and then from the list of objects we want to filter by Security Group
Select Group
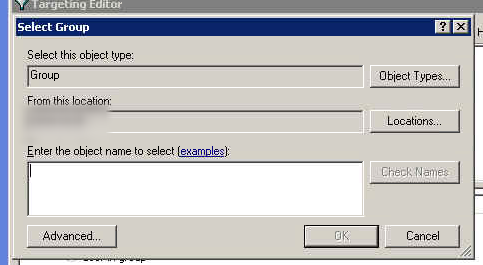
In the Active Directory window, choose the Security Group or User you want to filter on.
Confirm Group
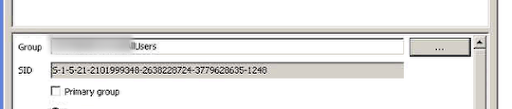
You can now see I have selected a Security Group. OK all the settings and this is now complete.
Multiple Shortcuts

Now you can create multiple shortcuts with different targetting rules applied.
Custom Start Menu
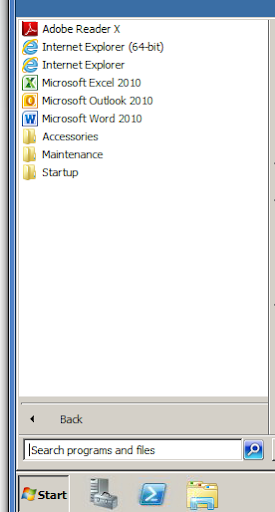
Now I have my custom Start Menu and only the applications I want to present are available to my users.
No comments:
Post a Comment